



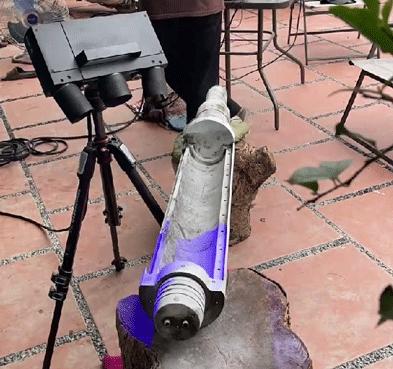
What Are the Steps in a Professional 3D Scanning Process?
Many people still imagine 3D scanning as simply pointing a scanner at an object, pressing a button, and getting an instant result. In reality, producing an accurate, reliable 3D data file involves far more preparation and technical processing than most people outside the industry realize. This article walks through each step of the professional 3D scanning process as carried out at Scantech.
Step 1: Surface Preparation — Applying Anti-Glare Spray
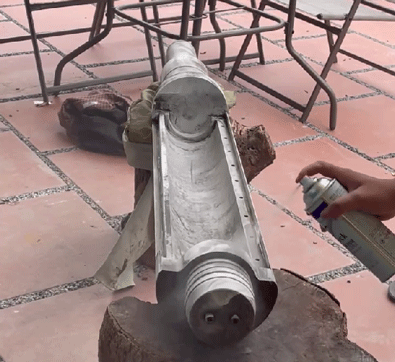
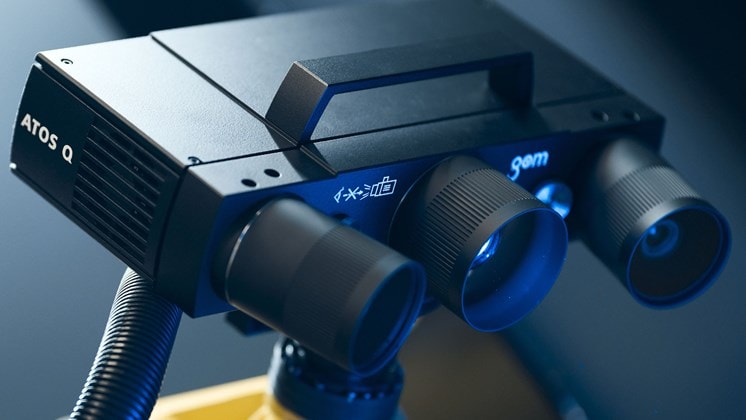
Before scanning begins, the object’s surface needs to be treated with a thin, even layer of specialized anti-glare spray. This step matters more than most people think: modern 3D scanners (such as the ATOS Q line) work on the principle of structured light — projecting light patterns onto a surface and calculating geometry based on how that light reflects back.
The problem is that not every surface “cooperates” with light. Shiny, highly reflective, transparent, or very dark-colored objects all cause light to reflect incorrectly or get absorbed, resulting in noisy, incomplete, or geometrically inaccurate scan data. The anti-glare coating helps the surface diffuse light more evenly, creating ideal conditions for the scanner to accurately capture every small detail.
Step 2: Applying Positioning Markers
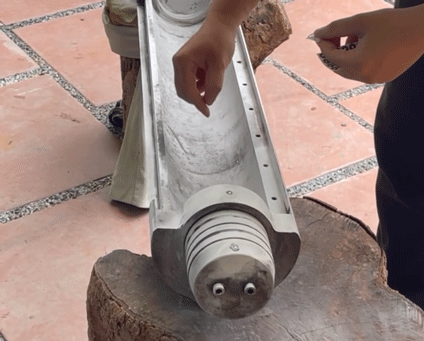
After surface preparation, the next step is placing positioning markers — small round dots scattered across the object or its surrounding area. This isn’t a decorative step; it’s a “reference coordinate system” that helps the software accurately stitch together data captured from multiple scanning angles.
Since a single scan usually can’t cover an entire object (especially for large or geometrically complex parts), the scanner needs to capture data from multiple angles. The positioning markers act as “anchor points,” allowing the software to recognize and align these separate scans correctly, preventing data misalignment, overlap errors, or gaps.
Step 3: Performing the Scan
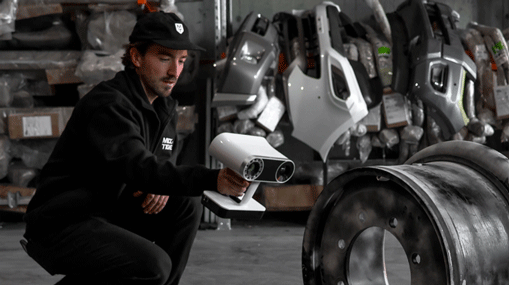
This is the core step — a technician moves the scanner around the object, capturing data from each angle and surface in turn. With modern scanners, geometric data is rendered directly on screen in real time, allowing the technician to immediately spot areas still missing data and rescan them on the spot, rather than discovering gaps only after the equipment has been packed up.
Scanning time depends on the object’s size and geometric complexity — small, simple parts might take only a few dozen seconds, while large parts with many hidden angles may require scanning from multiple positions, taking longer to ensure complete data coverage.
Step 4: Data Processing and File Export
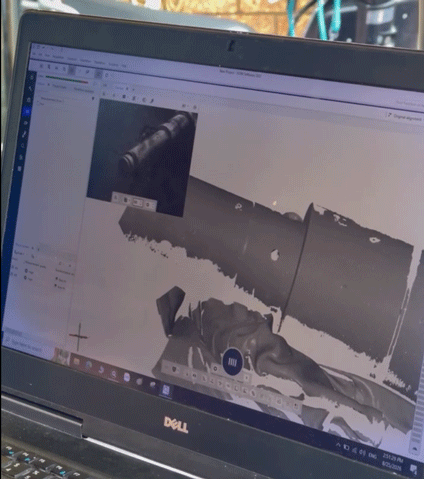
Once scanning is complete, the raw data (typically in point cloud form) needs to be processed: filtering out noise, removing inaccurate data points, and merging the individual scans into one unified, complete 3D model. This step requires both experience and specialized software — careless processing can distort the final model’s geometry even if the raw scan data was good.
After processing, the completed 3D file is exported in a format suited to its intended use — whether that’s quality inspection, comparison against the original CAD design, reverse engineering, or digital archiving.
Why Choose a Provider with a Proper 3D Scanning Process?
Skipping or rushing any of these four steps can distort the final scan data — a serious risk when that data is used for quality control or mass production. A professional 3D scanning provider needs more than good equipment; it needs to follow the correct process at every stage, from surface preparation to final data processing.
At Scantech, our technical team follows this complete process for every project — from small parts scanned in-house to large components scanned on-site at a client’s location.
Conclusion
The 3D scanning process isn’t just about “pointing and scanning” — it’s a combination of multiple technical steps: surface preparation, positioning, data capture, and processing and export. Understanding this process helps businesses make more informed decisions when choosing a 3D scanning service provider, ensuring the data they receive is genuinely reliable.
👉 Contact Scantech for a 3D scanning service consultation:
📞 Hotline: 0904 985 139 / 0862 170 366
📧 Email: ktscantech@gmail.com
🌐 Website: https://scantechvn.com
📘 Fanpage: facebook.com/scantechvn
🏢 Address: Xóm 2 Phúc Đức, Quốc Oai, Hanoi
.svg)
.svg)
.svg)
OTHER NEWS