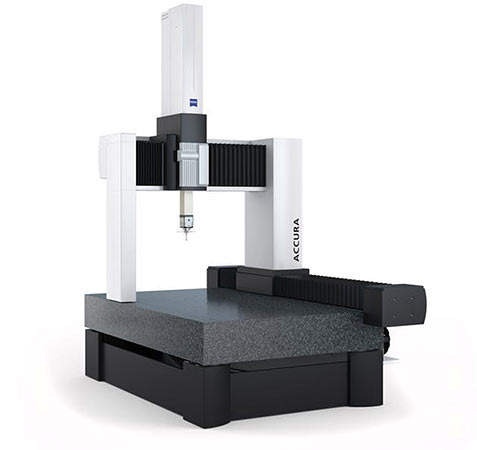
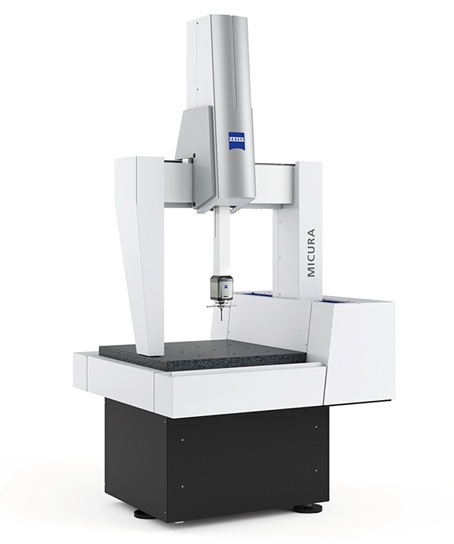
ZEISS O-INSPECT
Product Description
Expert in all fields of measurement
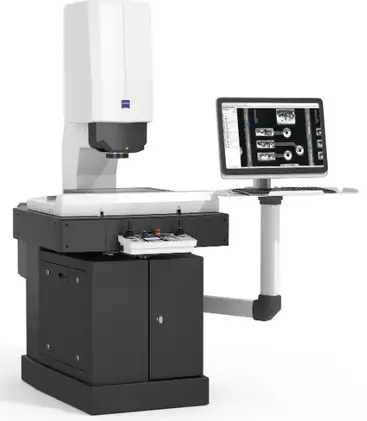
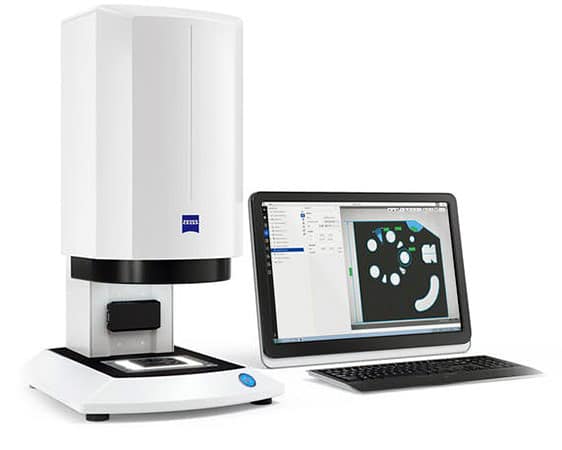
The ZEISS O-INSPECT polygonometer allows you to optimize each characteristic of the part to be measured using a combined optical contact method. An important feature: O-INSPECT provides reliable 3D data accuracy in accordance with ISO standards at temperatures of 18-30 °C. Besides, CALYPSO software not only provides easy results but also simplifies detecting and pinpointing the exact cause of errors.

| O-INSPECT 322 Measuring range (dm) 3/2/2 | O-INSPECT 543 Measuring range (dm) 5/4/3 | O-INSPECT 863 Measuring range (dm) 8/6/3 |
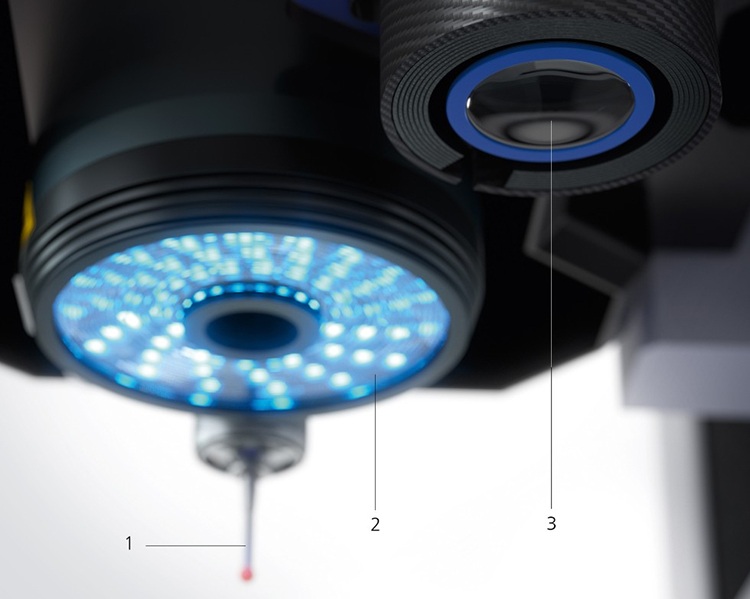
| Features and characteristics Telecentric zoomlens Discovery Adaptive lighting system VAST XXT scanning sensor Probe Calibrated sphere | Option White light distance sensor turning tables Loading and unloading system using glass pallets and pallet nets calibration pallet | CALYPSO software |
Wide aperture, precise image definition – ZEISS Discovery zoom lens
ZEISS Discovery.V12 comes from ZEISS Microscopy division. Compared to standard lenses, it provides a larger 4x visual field and very good image definition in the peripheries.
The result: reduced measurement time and excellent accuracy.
Other measuring points, further information – ZEISS VAST XXT scanning sensor
With ZEISS VAST XXT, O-INSPECT is equipped with flexible, fast and highly accurate contact sensors. This scanning sensor captures a large number of points in a single transmission. ZEISS O-INSPECT enables scanning with millinewton-range probing capabilities in areas where other multi-sensor meters can only provide limited single-point measurements. This makes 3-dimensional measuring of edges and thin walls easy.
Quickly and accurately. See and understand – with ZEISS CALYPSO
Together with ZEISS CALYPSO, ZEISS O-INSPECT opens up a whole new dimension. You will see the actual display status distributed and interpreted by the measurement results.
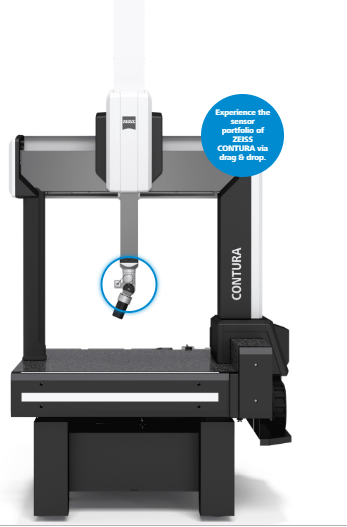
Measure E0 length error from 1.5 + L / 350 mm
Measuring range
| X | Y | Z | |
| 7/7/6 | 700 | 700 | 600 |
| 7/10/6 | 700 | 1,000 | 600 |
| 10/12/6 | 1,000 | 1,200 | 600 |
| 10/16/6 | 1,000 | 1,600 | 600 |
| 9/12/8 | 900 | 1,200 | 800 |
| 9/16/8 | 900 | 1,600 | 800 |
| 12/18/10 | 1,200 | 1,800 | 1,000 |
| 12/24/10 | 1,200 | 2,400 | 1,000 |
Diverse sensors
ZEISS CONTURA has a fixed sensor, a flexible RDS holder in the form of articulating probes , or scanning probes. Any sensor can scan. Standard pilot technology – for smooth operation without stopping.
Powerful and Precise
Depending on the setup, ceramic or CARAT guides are used for ZEISS CONTURA for high stability, low heat generation and minimal shifting weight. Lightweight ball bearings on all 3 axles ensure constant stability even during acceleration and acceleration. Calibration with crystal ceramic is gentle and does not require any temperature sensors or other detailed measurements. The device fits perfectly into the floor and is resistant to all impacts and other contamination.
CAA – Computer-like accuracy
The spherical shape is aimed at large impacts making it absolutely precise, especially during scanning. ZEISS CONTURA calculates every internal impact in detail. It ensures absolute accuracy even when scanning at high speeds
Convenient controls
The system is controlled via a user-friendly control panel and does not require another computer. Active manipulation ensures ease and precision in all directions of movements on the axes. Speed is set in CNC format
Condition
HTG (high temperature bias) gives a large temperature range (18-26 degrees) with constant parameters. Temperature sensors for parts and machines at x = 700/1,000 mm
Advanced sensor for maximum re-operation without the need for recalibration
The sensor is easy to change with active detection
The ZEISS air saving system allows saving up to 60% of compressed air flow
Sensor variations /SENSOR PARAMETERS
Direkt
The Direkt sensor model is ideal for measuring small devices, with right angles, without tilt angles. Equipped with the ZEISS VAST XXT sensor, ZEISS CONTURA direkt provides a specialized tool unique to the scanning world from ZEISS to produce, measure parts at a granular level, and segment work independently. The XDT single-point sensor by ZEISS can be additionally installed on the VAST XXT if required. Direkt ZEISS CONTURA is available in sizes 10/16/6
RDS
Combined with ZEISS’s VAST XXT, the flexible, articulating RDS allows measurements from all angles. With a total of 20,736 positions in 2.5 degree steps, RDS can scan to any angle. That is an absolute advantage for complex parts, for parts with complex profiles, or need to create complex profiles. Alignment time is minimized thanks to the optical alignment sequential mode. RDS is also capable of using other sensors from ZEISS on the ZEISS CONTURA.
AKTIV
ZEISS CONTURA aktiv follows standard scanning detection technology for fast scanning with a single movement. It can work with ZEISS’s VAST XTR yellow or VAST Both sensors share the same jack. Measurement program can be converted. A quick changeover QuickChange changeover system can also be fitted if required.
RELATED PRODUCTS
CONTACT
- Login /
- Register


