What is 3D measurement?
3D metrology is the process of obtaining highly accurate physical 3D measurements of an object. The result is a digital 3D model that can be analyzed or redesigned.
In the case of quality control, for example, the 3D scan can be compared to a reference CAD model to ensure that the object complies with established specifications and standards. 3D metrology helps ensure product quality while saving time and therefore reducing costs.
CMMs – coordinate measuring machines – have traditionally been the most common type of hardware used for precision measurement. However, advances in 3D scanning technology have made 3D scanners increasingly popular in metrology, as they are faster and more cost-effective.
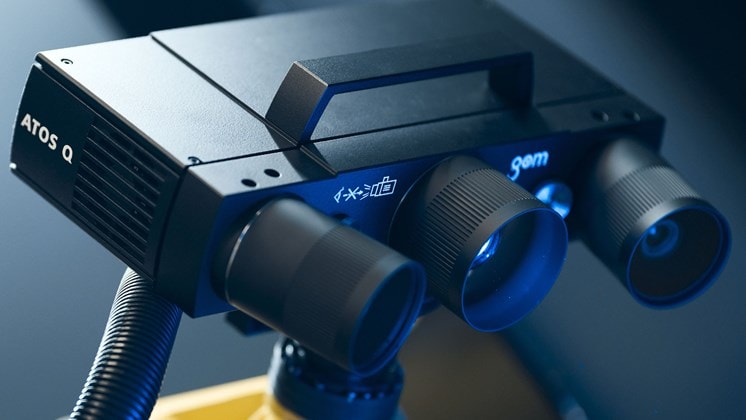
In this guide, we provide a comprehensive overview of some of the best 3D metrology scanners available on the market, including different hardware types (stationary, handheld) and price points. We also provide basic details on 3D metrology software, which is just as important as the hardware.
Types of 3D measurement scanners
Handheld 3D Measurement Scanner
Handheld 3D scanners are convenient, flexible systems that allow access to hard-to-reach places (such as car interiors). They often have several modes to accommodate users with small, medium, or large sized parts.

Using a handheld 3D scanner is comparable to filming a video or drawing with a brush; the subject must be captured from every angle.
Static measurement 3D scanner
Static 3D scanners are similar to cameras on a tripod. For small or medium sized objects, these scanners are often paired with an automated turntable for a smoother workflow.

They can also be mounted on an automated station. Such systems typically move the scanner up and down along the Z axis while the object being scanned lies on an attached turntable.
3D Scanner vs CMM
CMM stands for coordinate measuring machine. This type of device uses a probe – a physical probe, touching a surface, or a light/laser source – to measure the geometry of an object. CMMs can be operated manually or controlled by a computer.
These machines are highly accurate but are relatively slow at collecting data and only capture a limited number of points. A standard CMM records a few hundred points, as opposed to a 3D scanner which captures hundreds of thousands or millions of points.
Therefore, CMMs are primarily used for target inspection rather than providing a full 3D model of objects, in which case a 3D scanner is the best option.
The main advantages of 3D scanners over CMMs are:
Speed: 3D scans can be processed in a few minutes, while CMMs require more time.
Automation: 3D scanning systems are much more compatible with industrial environments such as assembly lines.
Range: 3D scanners capture exponentially more information. This can allow engineers and designers to understand what the root cause of potential part distortion is rather than simply identifying its existence. They can also scan much larger parts than CMMs, which have a fixed frame/volume.
Flexibility: It is easier to move a 3D scanner and use it at multiple workstations to accommodate different manufacturing needs. CMMs are typically stationary and take up a lot of space.
Non-intrusive: While coordinate measuring machines do not necessarily touch the object, they do get close to it, which can be a problem in some cases. 3D scanners can collect data at a safe distance.
Cost: 3D scanners are typically less expensive than CMMs.
All that being said, CMMs and 3D scanners can complement each other. CMMs are hard to beat when it comes to measuring holes and intricate, complex parts.
By using both a CMM (such as a handheld probe) and a 3D scanner, a high level of accuracy can be achieved.
Which industries use measurement and why?
Integrating 3D metrology directly into the value chain of any industry ensures high part quality without disrupting the production line.
Here are some of the many industries that take advantage of 3D metrology:
Aerospace and Automotive
Electronics
Power and Energy
General Manufacturing
Medical
Instruments
A leading application for 3D metrology is component inspection within general quality control processes. It is essential for any business to ensure that the goods being manufactured are up to standard.
This is true whether these goods are simple household items, like microwave oven knobs, or critical aircraft components that must be 100% safe and standard.
Accurate 3D measurement data also provides the option of reverse engineering replacement parts and quick repairs.
Overall, using 3D measurement ensures fewer errors during the manufacturing process, saving both time and money.Phần mềm đo lường để kiểm tra
3D scanners can only perform to their full potential when they are compatible with the software they are running on. To be clear, we can distinguish between two types of software:
Basic software to operate the scanner: This is usually proprietary software (such as Artec Studio) that comes with the scanner to convert data points and clouds into a 3D mesh of the scanned object. It provides basic functions such as mesh alignment and hole filling, but is often not enough to perform advanced inspection and quality control operations.
This may be sufficient depending on the end use of the scan, but when it comes to measurement, additional software is often needed.
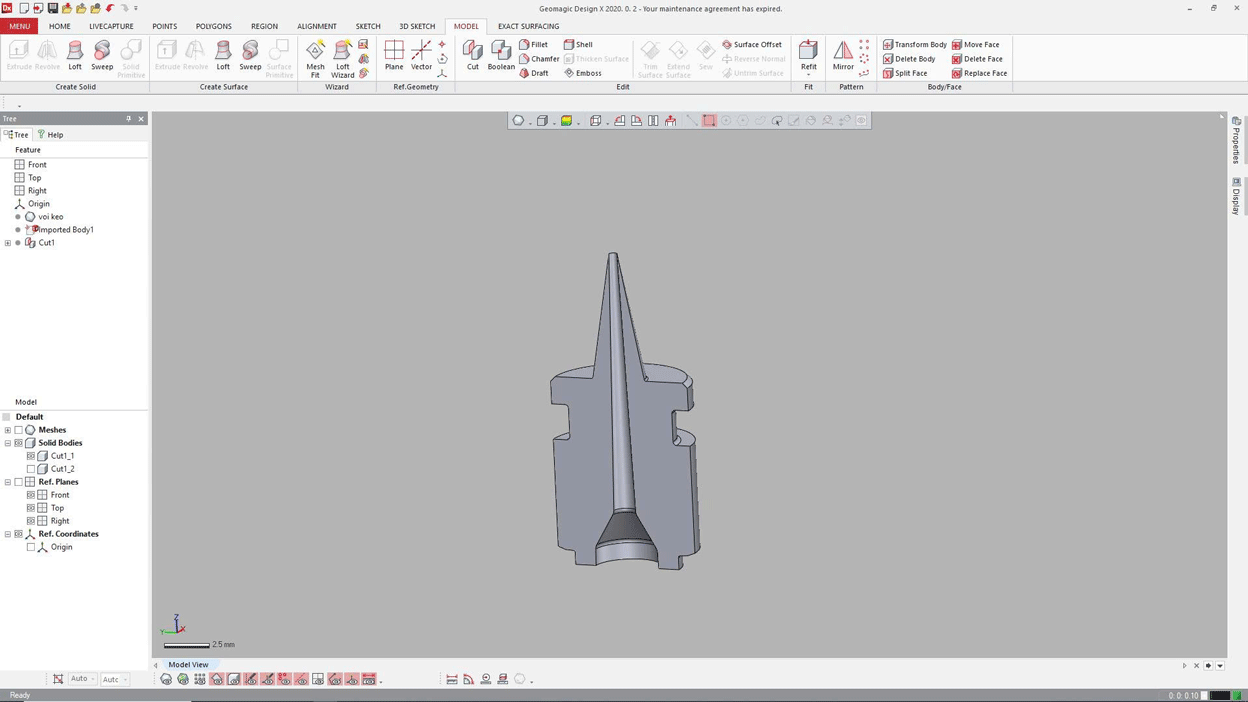
Inspection software: For 3D measurement, engineers and designers use specific inspection software or modules with additional functions and capabilities. Indeed, the main goal (among others) is to compare the 3D scan with a reference CAD file. The software must be able to do that in order to find potential discrepancies and provide a map or report of discrepancies.

What specifications to look for in a 3D scanner?
There are several specifications to consider before purchasing a 3D scanning solution for metrology.
Accuracy
Accuracy determines how close a measurement is to its true value. This is most important for metrology applications. Manufacturers typically provide two different types of accuracy specifications: single-pass accuracy and volumetric accuracy.
Light Sources
3D scanners use different types of light sources to capture 3D images: laser lines and crosshairs, typically red or blue; or LED patterns, typically white or blue.
Generally, the more lines or lasers a 3D scanner has, the faster the 3D scanning speed.
Resolution
Resolution is typically measured in point-to-point distances and sometimes in points per scan.
For images, the higher the resolution of the scan, the more detail will be visible and the sharper the results will be.
There are two different types of resolution: measurement resolution and mesh resolution. Mesh resolution is the most important type to consider, as it will be the resolution of your final 3D model.
Sometimes it may not be clear which resolution a manufacturer is referring to in their product specifications.
Speed, Velocity
The speed at which data is collected can be expressed in points per second, frames per second, or seconds per scan.
Software
Some 3D scanner manufacturers develop their own software, while others have partnerships with leading 3D scanning software brands available.
It is also important to note that 3D scanning software always requires a laptop with a powerful RAM, graphics card, etc. If not well equipped, you may have to budget several thousand dollars for a new PC.
Range and Field of View
It is obviously inefficient to 3D scan a large object with a 3D scanner with a small range or field of view. Therefore, it is imperative to check whether the scanner’s range is compatible with what you intend to 3D scan.
Some 3D scanners offer multiple 3D scanning modes to accommodate different object sizes.
Marker Location
Markers are small “targets” that help 3D scanners position the data they capture. In other words, they help the scanner align different captured frames with each other, relative to each other and in space, to form a 3D model.
To enhance their global accuracy, some laser or structured light 3D scanners integrate marker acquisition with optical measurement technology via dedicated cameras.
They are a “hybrid” 3D scanner, which explains why some metrology 3D scanners require the user to place markers on the scanned object or its environment, especially for large objects (over 1 meter).
Metrology 3D Scanner Prices
The price of a metrology 3D scanner depends largely on the accuracy, software, and other factors. For heavy industrial applications, the price for a scanner and software with the appropriate accuracy can be well over $100,000.
As the exclusive representative of the world’s leading 3D scanner brands in Vietnam (Carl ZEISS (Germany); 3D SYSTEMS (USA)…), Scantech Vietnam is committed to bringing customers modern and quality solutions, machinery and equipment.
OTHER NEWS
